Connecting OVOC Server to Network on HyperV
After installation, the OVOC server is assigned, a default IP address that will most likely be inaccessible from the customer's network. This address is assigned to the first virtual network interface card connected to the 'trusted' virtual network switch during the OVOC server installation. You need to change this IP address to suit your IP addressing scheme.
|
➢
|
To reconfigure the OVOC server IP address: |
|
1.
|
Start the OVOC server virtual machine, on the Hyper-V tree, right-click the OVOC server, and then in the drop-down menu, choose Start. |
Power On Virtual Machine

|
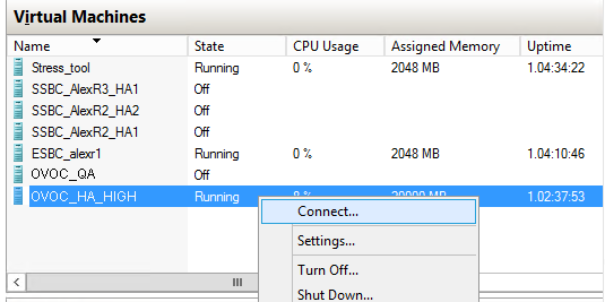
2.
|
Connect to the console of the running server by right-clicking the OVOC server virtual machine, and then in the drop-down menu, choose Connect. |
Connect to OVOC server Console
|
3.
|
Login into the OVOC server by SSH, as ‘acems’ user and enter password acems. |
|
4.
|
Switch to 'root' user and provide root password (default password is root): |
su - root
|
5.
|
Start the OVOC Server Manager utility by specifying the following command: |
# OvocServerManager
|
6.
|
Verify that all processes are up and running (Viewing Process Statuses), configuration and data has been restored, and that you can login to OVOC Web client. |
|
7.
|
Set the OVOC server network IP address to suit your IP addressing scheme (Server IP Address). |
|
8.
|
Perform other configuration actions as required using the OVOC Server Manager (Getting Started ). |